

Tutorial: build a menu bot with an image and buttons
🎯 Goal
A customer sends “hi” and gets your shop photo with three buttons: Shop sofas, Track my order and Talk to us. Each button leads somewhere useful.
🧰 What you need
- A connected number
- A photo for the menu (JPG or PNG, up to 5 MB)
- An agent role that can publish flows, or the owner login
Step 1: create the chatbot
Section titled “Step 1: create the chatbot”- Automation → New chatbot. Name it
Main menuand create it. - The builder opens with a green Trigger card. Click it.
- Choose Match keyword. Keywords:
hi, hello, menu. Match: Exactly. - With more than one number, tick the numbers under Runs on these numbers.
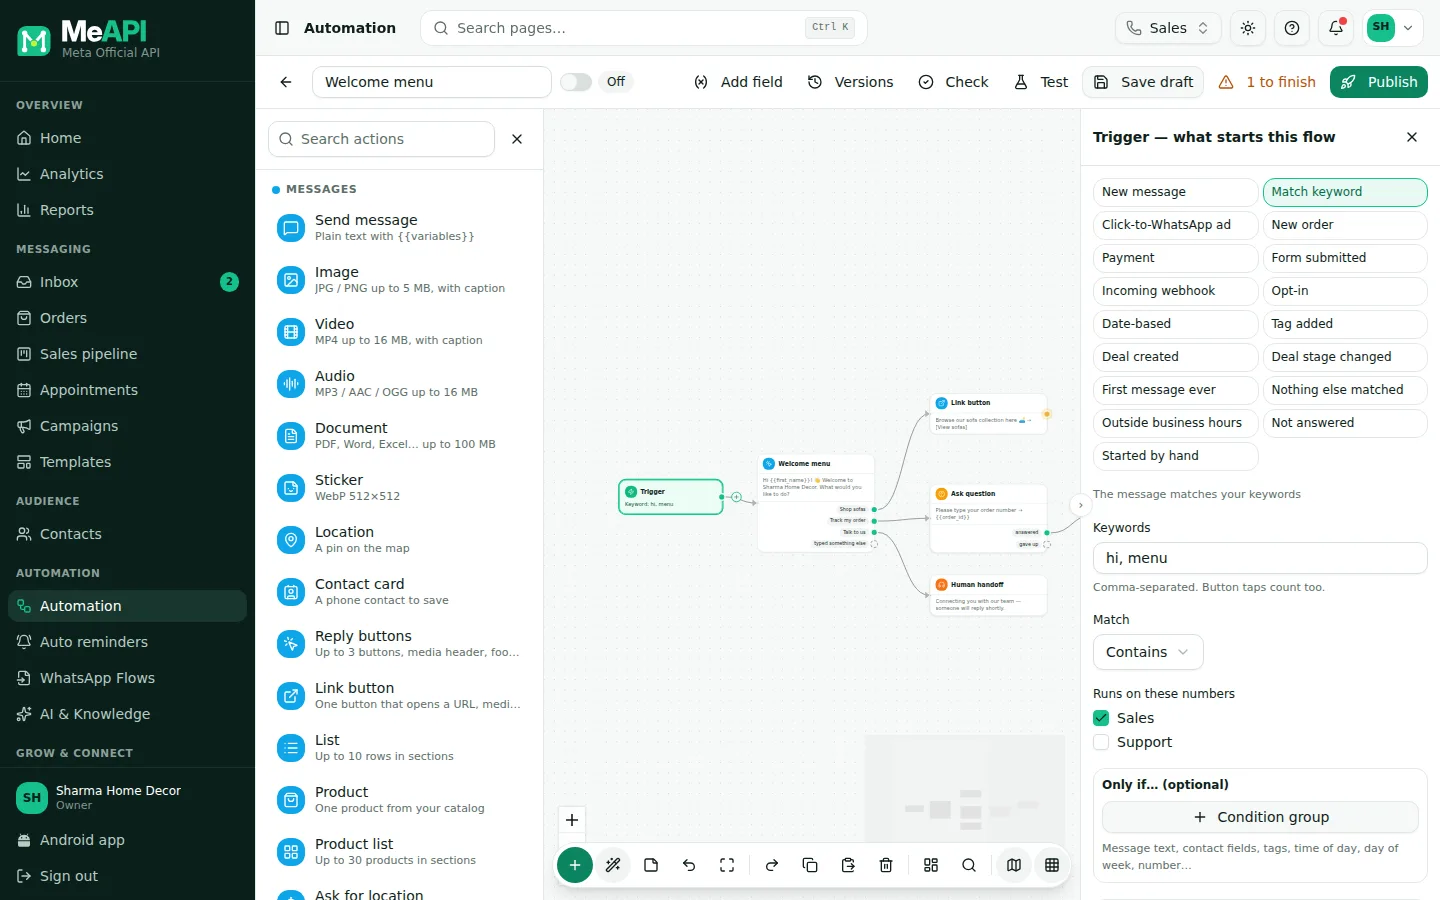
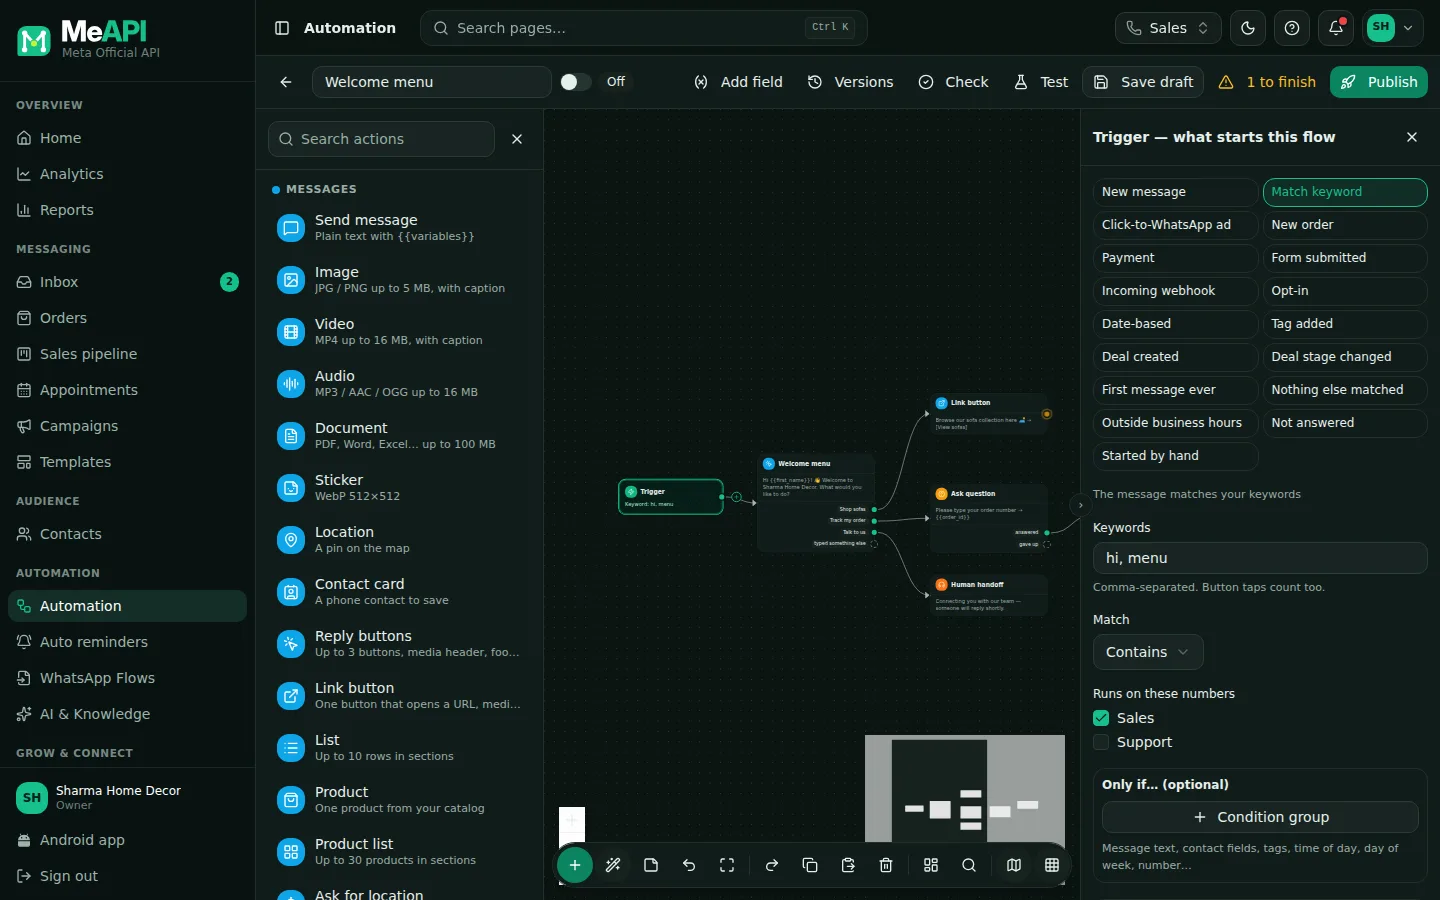
- The Trigger panel: what starts this flow, here Match keyword.
- Keywords (comma-separated; button taps count too) and Match: Exactly, Contains, Starts with or a regular expression.
- Optional: the numbers it runs on and Only if… conditions.
Step 2: add the menu message
Section titled “Step 2: add the menu message”- Click the + beside the Trigger card’s output. A new step appears, already connected, and the Bot actions panel opens.
- Under Messages, pick Reply buttons.
- In the step settings on the right:
- Body text:
Hi {{first_name}}! 👋 Welcome to Sharma Home Decor. What would you like to do? - Header → Image, then Upload your photo, pick one from the Library, or paste an
https://link. - Footer (optional):
Reply any time with "menu". - Reply buttons (each gets its own path):
Shop sofas,Track my order,Talk to us. Up to 3 buttons, 20 characters each.
- Body text:
- Optional: give the step a Name on the canvas, such as Welcome menu.
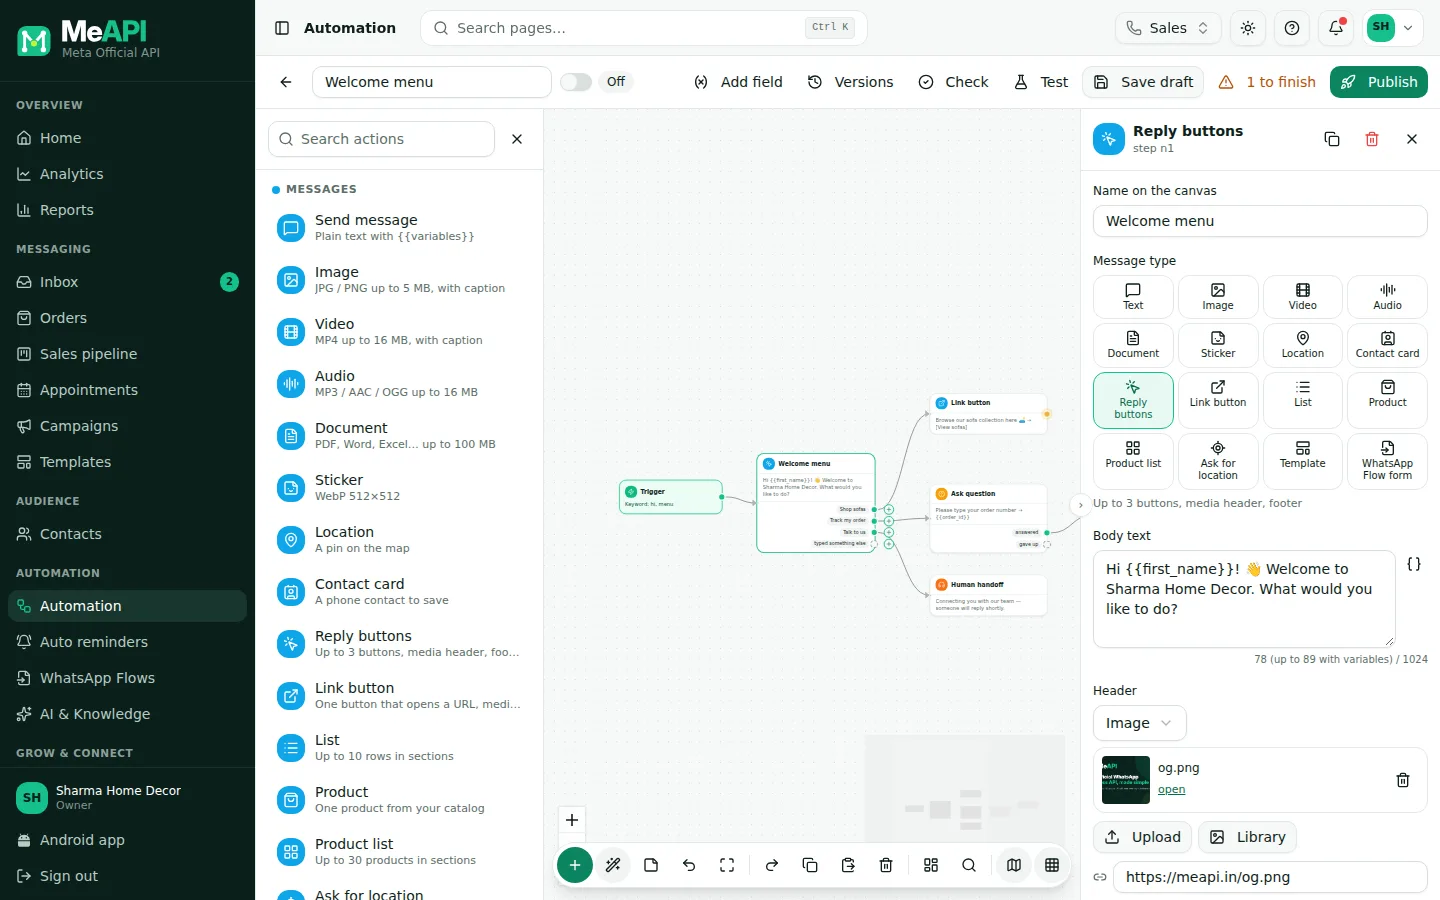
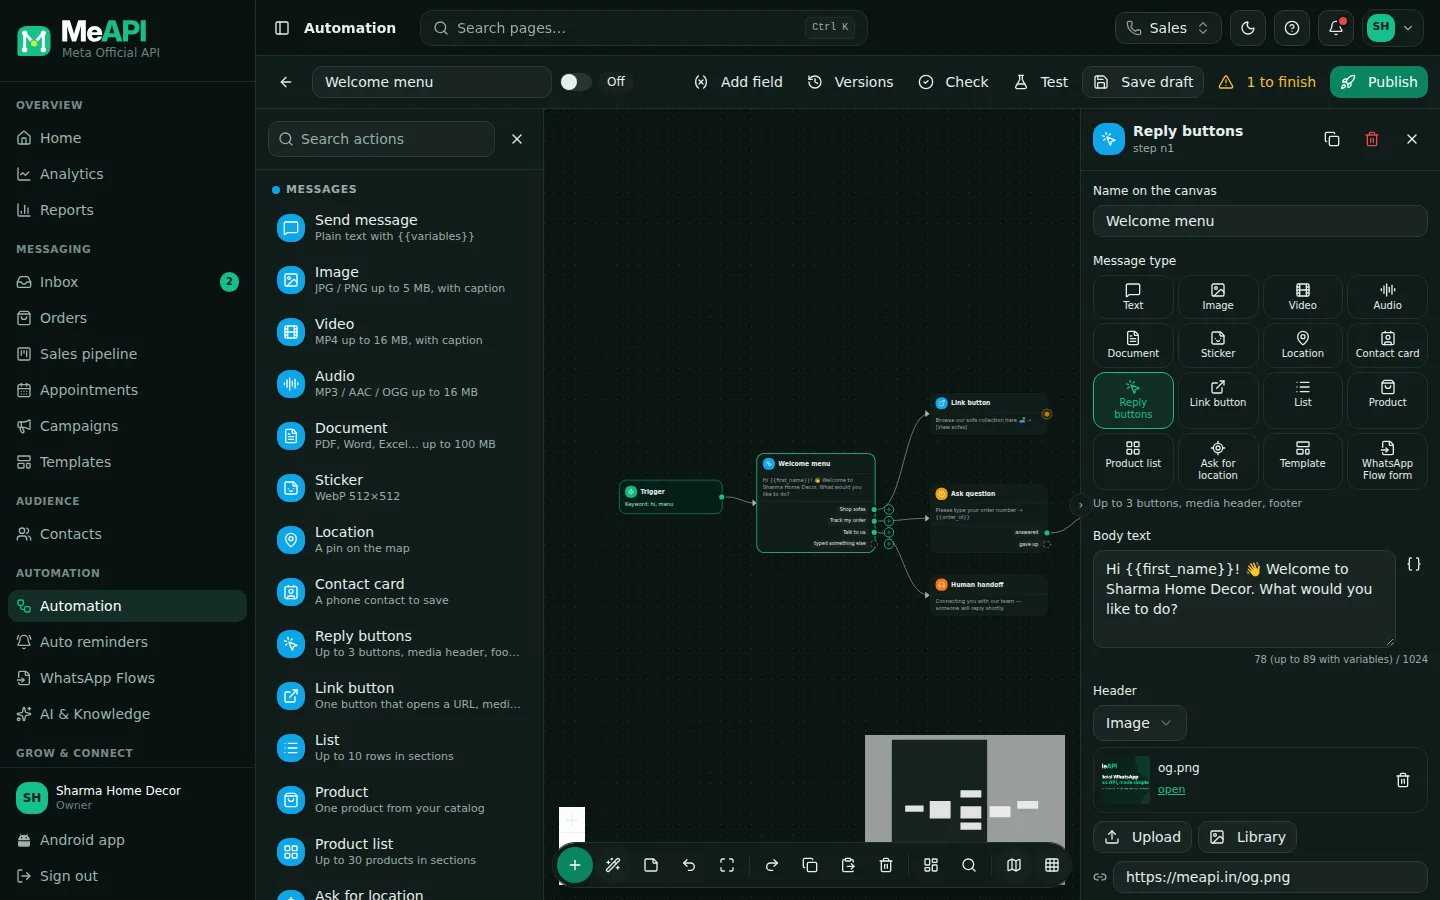
- Message type: Reply buttons, one of the WhatsApp message types.
- Body text, Header (here an image) and Footer.
- Reply buttons: each button gets its own output on the canvas.
The header can be No header, Text, Image, Video or Document.
Step 3: one branch per button
Section titled “Step 3: one branch per button”The menu card now has one output per button, plus typed something else. Click the + beside an output to add the next step on that path:
- Shop sofas → Link button:
Browse our sofa collection here 🛋️, Button labelView sofas, Opens this linkhttps://yourshop.com/sofas. - Track my order → Ask question
Please type your order number→ Save the answer toorder_id. Then follow the order-status bot tutorial, or end with Notify agent. - Talk to us → Human handoff, Hand to: Next available agent (round-robin).
You can also drag from an output’s dot to a step that already exists.
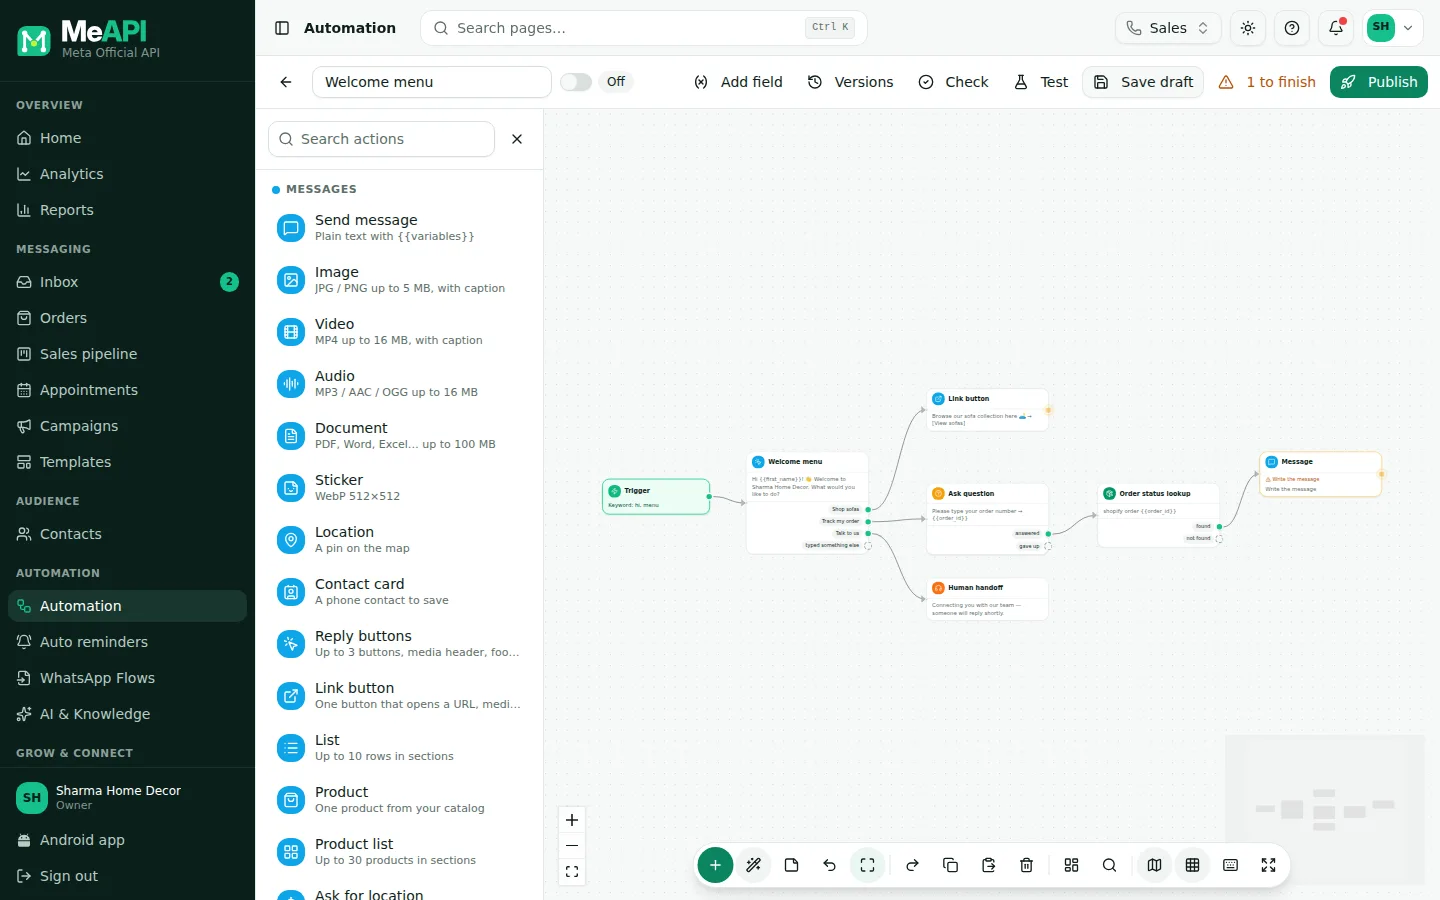
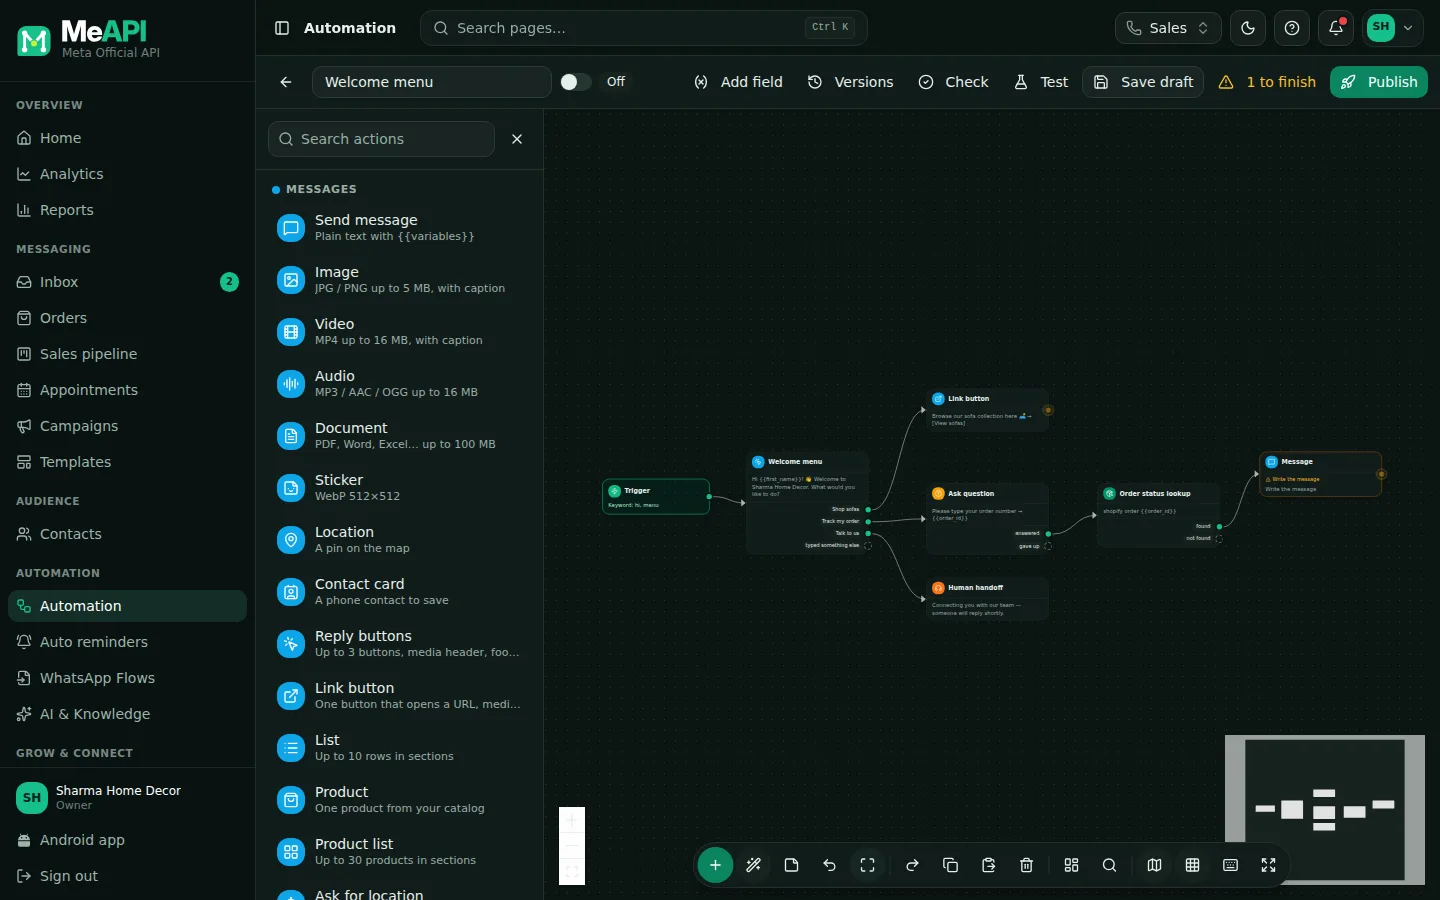
- The trigger, then the menu with an image header and three buttons.
- Each button has its own output and path. Click + beside an output to add the next step.
- A step that still misses content shows an amber warning, and the toolbar counts what is left to finish.
Step 4: the optional “typed something else” exit
Section titled “Step 4: the optional “typed something else” exit”If the customer types instead of tapping a button, the flow takes typed something else. It shows as a grey dashed dot: it’s optional, and left empty the flow simply ends there.
To guide people back, click + beside it → Send message Please tap one of the buttons 🙂 → + → Go to step → Welcome menu.
Step 5: fix missing content
Section titled “Step 5: fix missing content”Steps without content get an amber warning, such as Add the file, Write the message or Set the button link. The toolbar shows N to finish. Click it to jump to the next one. You can’t publish until they’re done.
Step 6: test it
Section titled “Step 6: test it”- Click Test. Test this flow opens. It runs your draft without sending anything.
- Type
hiand press Start. The menu appears, and the path lights up on the canvas. - Click Track my order, then type
1042. Check Saved answers showsorder_id = 1042. - Click Start over and try the other buttons, and a random word for typed something else.
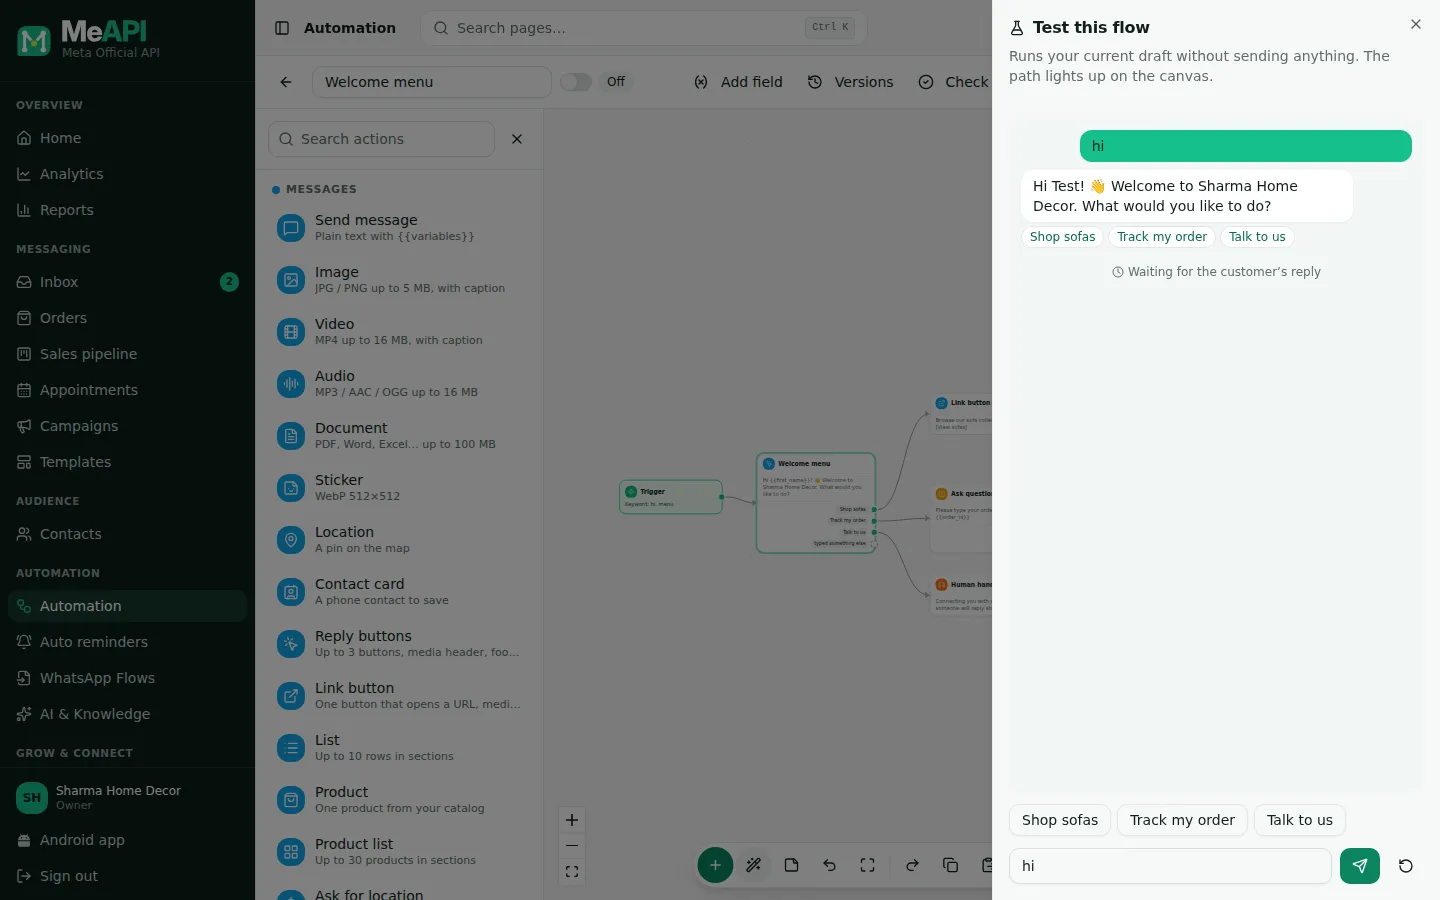
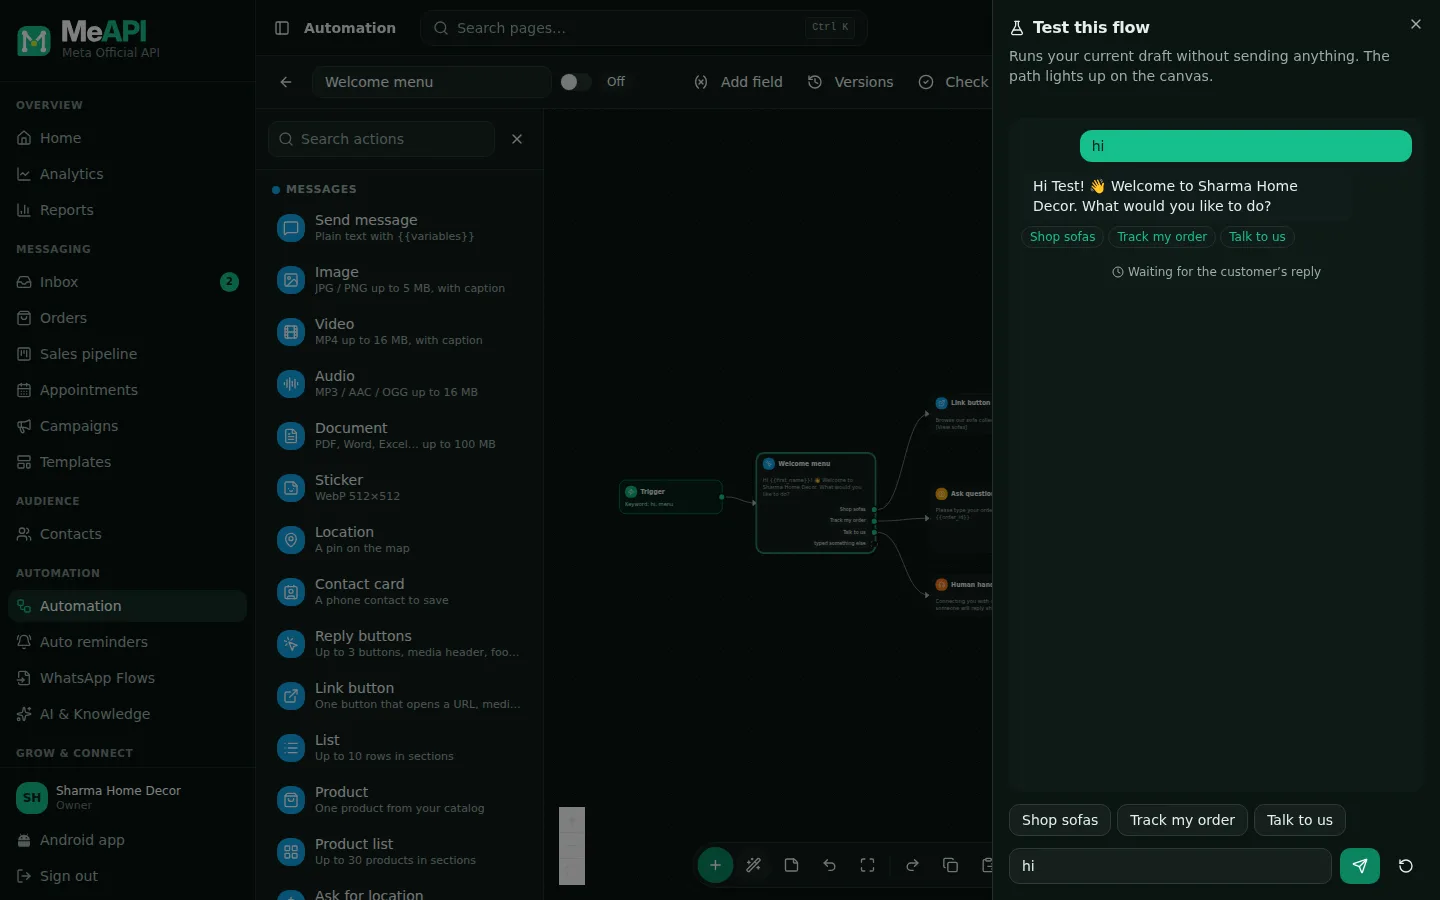
- The simulator: type what a customer would send, and tap the offered buttons.
- The path it took lights up on the canvas.
Step 7: check and publish
Section titled “Step 7: check and publish”- Click Check. Looks good — ready to publish, or the problems are marked on the canvas.
- Click Publish. Add a note such as
First menuand click Publish again. Version 1 is live. - Send
hifrom your own phone.
What the customer sees.
Later changes go live only when you click Publish changes. Chats already in the flow finish on the version they started with.
Common mistakes
Section titled “Common mistakes”- Two live flows on “hi”. Only one starts. Keep one menu flow.
- Button text longer than 20 characters. The box turns red and tells you how long it is. Shorten it to save.
- A huge image. Image headers can be JPG or PNG up to 5 MB.
- Editing but not publishing. Customers keep getting the live version until you click Publish changes.
What’s next
Section titled “What’s next”Was this page helpful?
Thank you — we read every comment.
Could not send right now. Please try again later.
© 2026 MeAPI by TheWebStore028 · RADHAMADHAV WEBSTORE LLP · GSTIN 27ABJFR6148J1ZO · Contact us ·Cookie settings